If you’re thinking about air conditioning installation, one of the first questions you’ll probably ask is how long it’s going to take. Fair enough. Nobody wants their house turned upside down for a week in the middle of summer.
The honest answer is that most home installations are quicker than people expect. That said, there’s no one-size-fits-all timeframe. The type of system, the layout of your home and even how accessible your loft or garden is will all play a part.
Below, I’ll run through realistic timeframes and what can speed things up or slow them down so you can plan properly.
Average installation times for different system types
Single split system
This is the most common set-up in UK homes. One indoor unit mounted on a wall and one outdoor condenser.
In a straightforward property, this usually takes one full day. If everything is easily accessible and we’re not dealing with tricky brickwork or awkward pipe runs, we’re often packed up by mid to late afternoon.
Multi-split system
A multi-split system has several indoor units connected to one outdoor unit. These are popular if you want to cool a couple of bedrooms and maybe a home office as well.
You’re typically looking at two to three days depending on the number of rooms and the routing of pipework. Running pipework neatly between floors can add time, especially in older houses with solid walls.
Ducted systems
Fully ducted air conditioning is less common in UK homes but does crop up in larger properties or major refurbishments.
This is a bigger job and can take anywhere from three days to over a week. It depends heavily on access to loft spaces and whether ceilings need altering.
Key factors that affect installation duration
No two homes are the same. I’ve worked in new builds in Calne where everything was neat and accessible and I’ve worked in older cottages in Bradford-on-Avon where we had to get creative with pipe routes.
Here are the main things that influence how long installation takes:
- Property layout – Running pipework between floors or across extensions adds time.
- Type of walls – Drilling through thick stone or solid brick takes longer than modern cavity walls.
- Outdoor unit location – Easy access at ground level is quicker than brackets high up on a first-floor wall.
- Electrical upgrades – Some homes need a small consumer unit upgrade or dedicated circuit installed.
- Number of units – Each indoor unit adds installation time including testing and commissioning.
Planning permission is rarely needed for standard domestic systems but if you’re in a listed building or conservation area around places like Melksham or Bradford-on-Avon, it’s always worth checking before booking in.
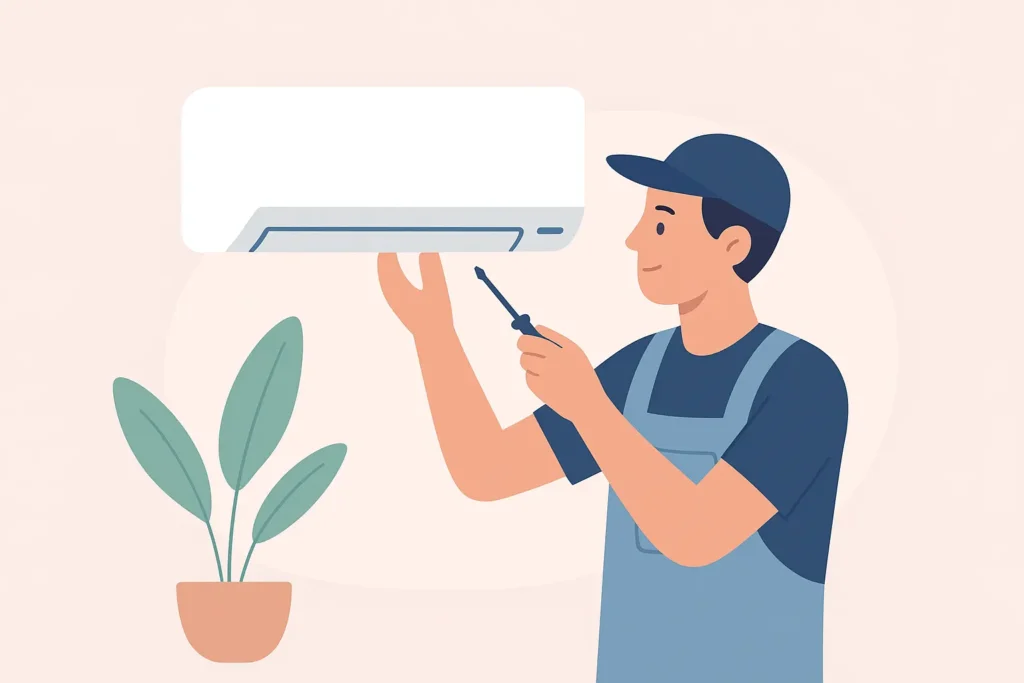
Step-by-step overview of the installation process
Customers often assume we just turn up and bolt a unit on the wall. There’s a bit more to it than that.
1. Positioning and marking out
We confirm the exact position of the indoor and outdoor units. This is where experience matters. You want good airflow without it blasting directly onto the bed or sofa.
2. Drilling and mounting
A core hole is drilled through the wall for pipework. Mounting brackets are secured and the indoor unit is fixed in place.
3. Running pipework and electrics
Refrigerant pipes, condensate drain and electrical cabling are run between the indoor and outdoor units. We keep this as neat and discreet as possible, often using trunking externally.
4. Installing the outdoor unit
The condenser is mounted on brackets or a ground stand. It’s then connected to the pipework and electrics.
5. Pressure testing and vacuuming
This is the technical bit. We pressure test the system to check for leaks, then vacuum it to remove moisture before releasing refrigerant.
6. Commissioning and handover
Once powered up, we test heating and cooling modes, check airflow and show you how to use the controller. Most questions at this stage are about timers and Wi-Fi apps.
How to prepare your home to avoid delays
A bit of preparation on your side can make the day run smoothly.
- Clear furniture away from the wall where the indoor unit will go.
- Make sure there’s safe access to the consumer unit.
- Remove items from loft spaces if we need to run pipework through them.
- Keep pets secured away from work areas.
If we’re installing in an upstairs bedroom, it helps to clear a path on the landing and stairs. Tools and equipment go back and forth more than people expect.
When to expect disruptions and how to minimise them
For most single-room installs, disruption is fairly minor. There will be drilling noise for a short period and some general movement in and out of the property.
Multi-room systems obviously mean more time on site and a bit more noise. If you work from home, it’s worth planning calls around the noisier parts such as drilling.
Power will need to be isolated briefly while we connect the system, but usually only for a short window.
We always tidy up before leaving. You might need to do a light dust afterwards but there shouldn’t be any major mess.
Planning your installation with confidence
In simple terms, most standard home air conditioning installations are completed within one to three days. Larger or more complex systems can take longer, particularly in older properties or where access is limited.
If you’re based in Melksham, Bradford-on-Avon or Calne, having a local installer assess your home properly is the best way to get a realistic timeframe. A quick site visit can answer most of the what if questions straight away.
At the end of the day, good preparation and clear communication make all the difference. An experienced team will talk you through the plan so you know exactly what’s happening and when. If you’d like straightforward advice or a clear idea of timings for your own property, AN Heating Services are always happy to help.
Ready to get started? Contact us today to book your installation and we’ll talk you through the next steps.